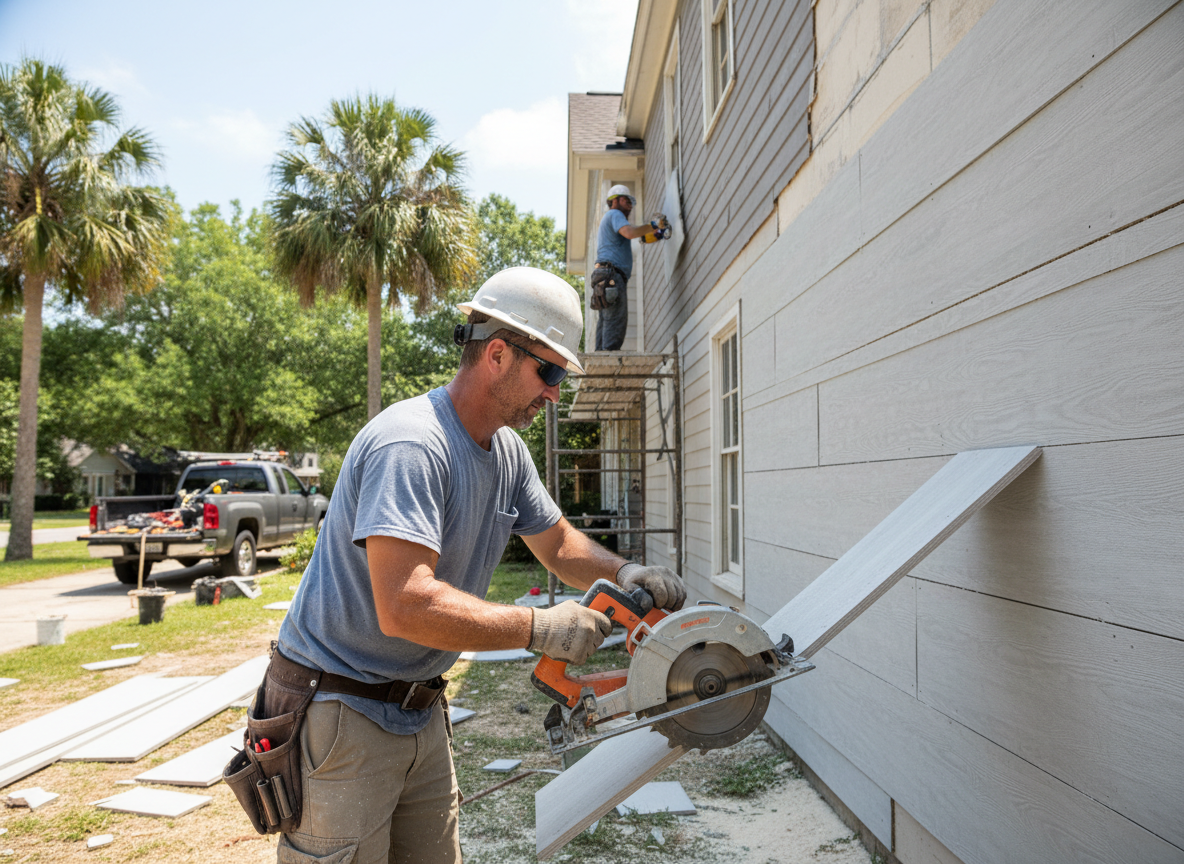
Hardboard siding appears on many Montgomery homes built between the 1970s and 1990s, especially in neighborhoods near the Montgomery County line. This engineered wood product expands and contracts with seasonal humidity shifts common in southwest Ohio, leading to edge swelling and paint failure when not properly sealed during installation. Crews must check for prior water intrusion around window and door trim before any new panels go up, because trapped moisture quickly rots the sheathing underneath.
When replacing sections, we match the original 4x8 or 4x9 sheets to maintain the shadow lines that define these houses. Fasteners need to be placed exactly per manufacturer spacing to avoid telegraphing through the surface after temperature swings. In Montgomery the freeze-thaw cycles of late winter push water behind loose joints, so we always install new flashing at horizontal seams and use exterior-grade caulk rated for Ohio winters rather than standard latex products.
Older hardboard often conceals deteriorated felt paper or missing housewrap on the original build. Removing damaged panels reveals whether the wall cavity needs new insulation or just a new weather barrier. We never cover existing rot; the substrate must be sound before new hardboard is hung or the same failure repeats within a few seasons.
Technician insight
In Montgomery, the thing that catches most people out with hardboard siding is how quickly the freeze-thaw cycles along the Great Miami River corridor push moisture behind the bottom course on north-facing walls of 1980s homes.
North-side elevation repair
Homeowner noticed bubbling paint on the lower half of the north wall. We found the original hardboard had absorbed water from repeated winter melt cycles and the felt paper had failed. After replacing the bottom three courses and adding new step flashing, the wall dried out and the new panels stayed flat through the next winter.
How it works
- 1
Site Assessment
Inspect existing hardboard for swelling, delamination, and water stains around windows and corners.
- 2
Material Selection
Source matching hardboard panels and compatible trim rated for Midwest humidity exposure.
- 3
Removal and Prep
Carefully remove damaged sections, replace any compromised sheathing, and install new flashing.
- 4
Installation
Hang new hardboard with proper spacing, seal all joints, and apply primer and finish coats.
- 5
Final Walkthrough
Review drainage details and provide homeowner maintenance guidance for the siding.
Pricing
Cost depends on square footage, extent of substrate repair, and whether full elevation or spot replacement is needed; upfront quotes provided after inspection.